Discordis ainstant messaging and digital distribution platform designed for creating communities.
It’s free, every week, in your inbox.
One last thing, you’ve got the option to find the code for the project onGitHub.

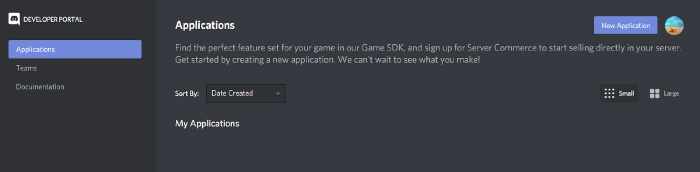
tap on New program.
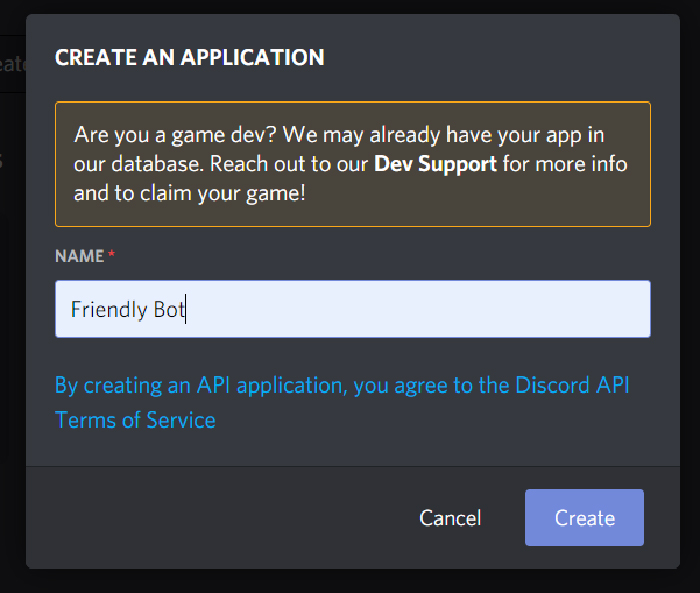
, this will generate a popup requesting the new bots name.
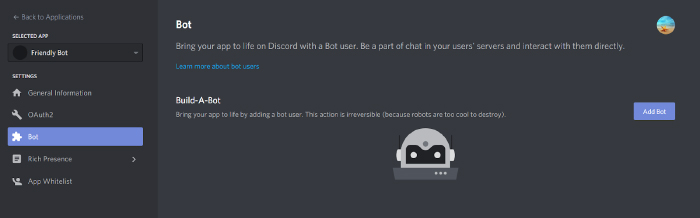
From here, go to the Bot tab and click Add Bot to add the bot to the system.

Again, confirm the action in the pop-up.
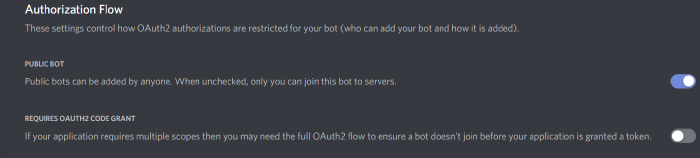
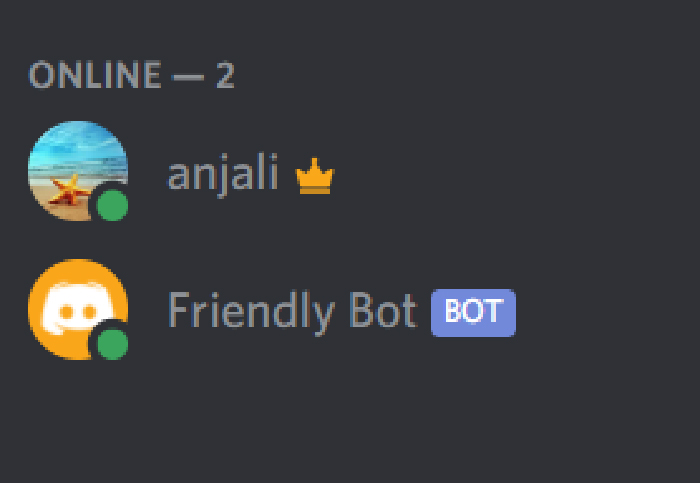
This adds the new bot to Discord.
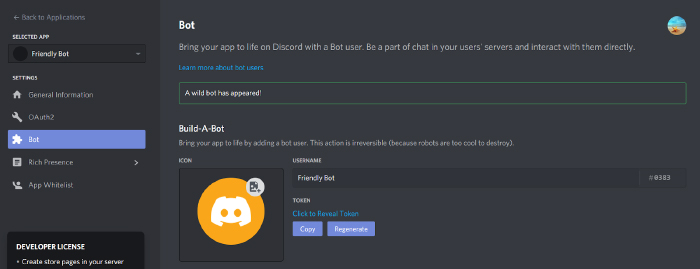
Now, we can start configuring it.
Now, we must copy the bot token and store it somewhere private.
Remember: this token is for your eyes only; never share it with anyone else.
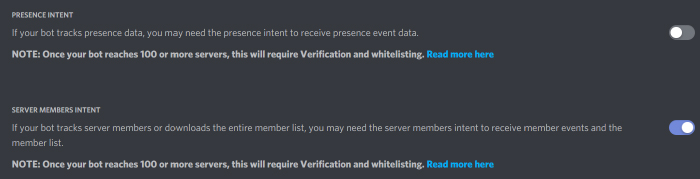
Next, you should turn on theServer Members Intent option under the Privileged Gateway Intents.
Our bot needs permission for this intent to detect when a new member joins the server.
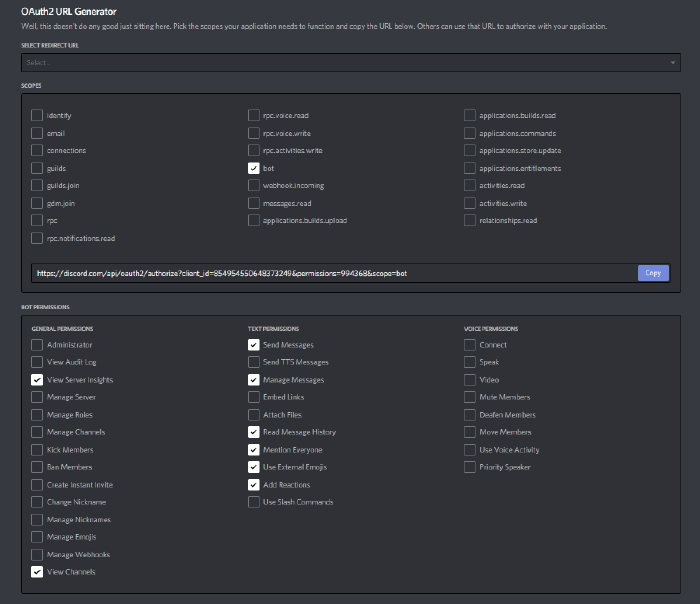
Then, choose the set of permissions the bot should have when interacting with the server.
Our bot only needs permission to read and send messages in server channels.
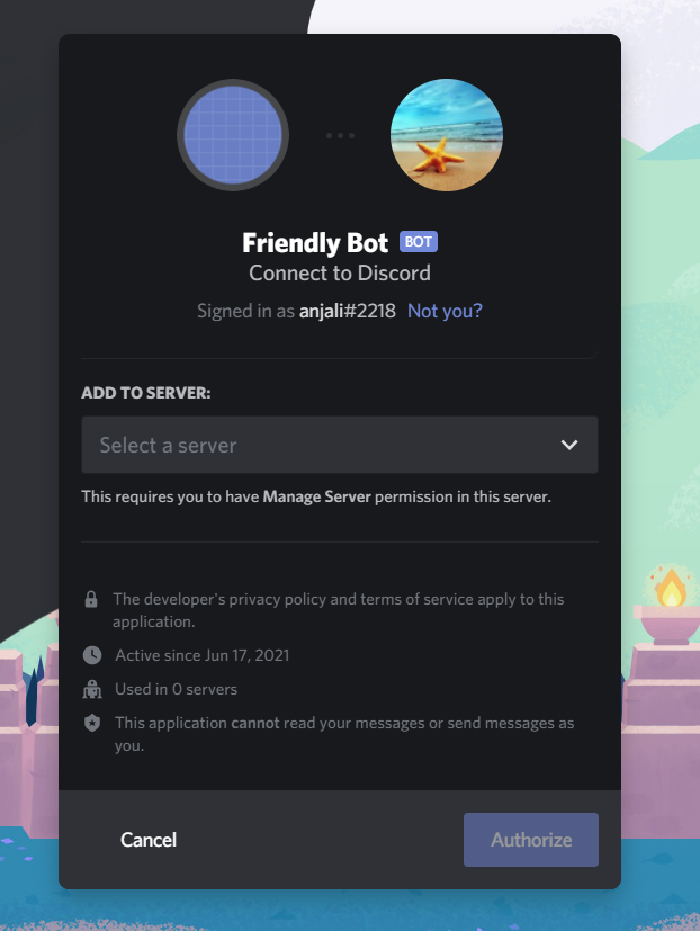
Then, choose the server that the bot should join and authorize the action when prompted.
As we mentioned at the beginning, we will use Node.js and discord.js to do this.
As the first step of implementation, set up a new Node.js project and initialize it with npm.
Then, we should install discord.js, axios, and dotenv modules using npm.
Create a new file named index.js and add the following code to it.
There are a few important things happening in this code.
Theclient.loginmethod then allows the bot to jump in to Discord using the token we added to the .env file.
The dotenv module takes care of adding it as an environment variable to the process.
Our bot listens to two Discord events: ready and message.
The ready event is triggered when the bot is ready to be used.
And the message event is triggered every time a user sends a message to a channel.
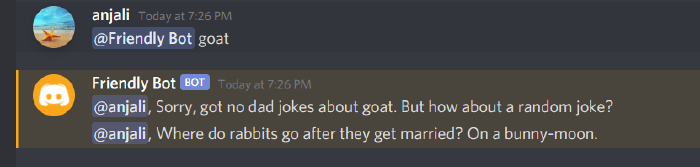
Here, we set up the bot to reply to every message that sends ping with a pong.
you might send a ping message to a channel and test if its working correctly.
For this, we are using this API:icanhazdadjoke.com.
It has a great collection of funny (and awkward) dad jokes we can retrieve for free.
The basic logic of this implementation goes like this.
Then it replies to the user with the joke.
ThegetRandomDadJokemethod sends the axios request and returns the retrieved data with the random joke.
It eliminates three types of messages.
If a user directly mentions the bot, it replies with a random joke retrieved using thegetRandomDadJokemethod.
But here, users can submit a search term to get a dad joke on a specific topic.

We also set thelimit=1to retrieve only one joke on a given subject.
Heres how we do it.
Its added to the text when the user mentions the bot.

A mentioned ID appears in the text in the following format.
After trimming the modified text, the bot can retrieve the search term that was submitted.
Then, the bot uses thesearchDadJokesmethod to find a relevant joke.

If the user doesnt submit a search term, it responds with a random joke by default.
The rest of the code stays similar to the last scenario.
So, we can now run and test this new feature of our bot.
So, to make it continuously available, we will deploy the bot to theHerokucloud.
We add a new worker process with npm node index.js as starting command to the Procfile.
Next, we need to initialize the project as a git repository and push it to GitHub.

We can connect the GitHub repo to Heroku which will deploy the bot.
We recommend adding the node_modules folder and .env file to a .gitignore file before pushing the project to GitHub.
Here you’re free to create a new utility by clicking on the New button.

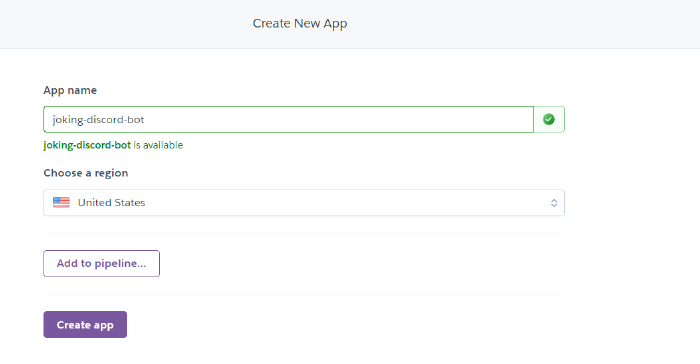
Choose the Create new app option, give your software a name, and confirm the app creation.
The new utility will be listed on your Heroku dashboard.
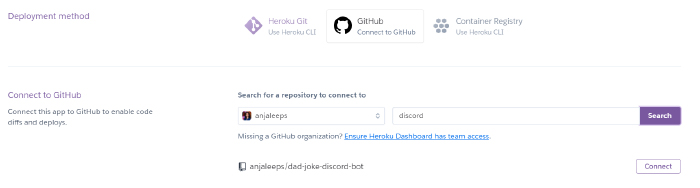
After connecting the account, search for the app repository and tap on Connect.
Heroku will now automatically deploy your app via the GitHub repository.
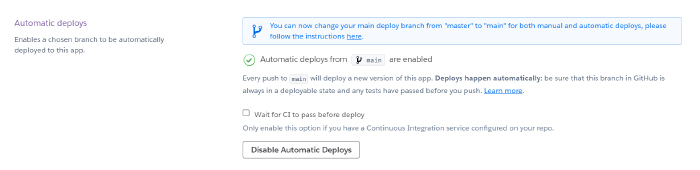
you’re free to enable automatic deployment to deploy the repo every time you push new changes.
Next, go to the tweaks tab and add the bot token to the config vars section.
This adds the token to the env variables of the process.
If you want, you’re free to remove the dotenv configuration in the initial utility code.
We have to make one more change to complete the deployment.
For this, go to the Resources tab of the utility.
Currently, the web option is turned on in the free dynos section while the worker is turned off.
With that, the app deployment is complete.

Now, our Discord bot can run 24/7 on a server and provide an endless supply of dad jokes.
The Node-based discord.js package makes it even easier for us to take advantage of this tool.
Its a fun experience anyone can try that would prepare you for building more serious, complex bots.

I hope youll enjoy experimenting with the Discord API with what we learned today.
Thisarticlewas originally published onLive Code Streamby Anjalee Sudasinghe.
