In our busy work lives, we often forget to WhatsApp our loved ones.
In this tutorial, we will write a simple Python script to send a WhatsApp message every morning.
Twilio is the Python package we will use.

So, lets get started!
But as WhatsApp requires QR-code scanning through mobile from time to time, automation isnt possible.
It’s free, every week, in your inbox.

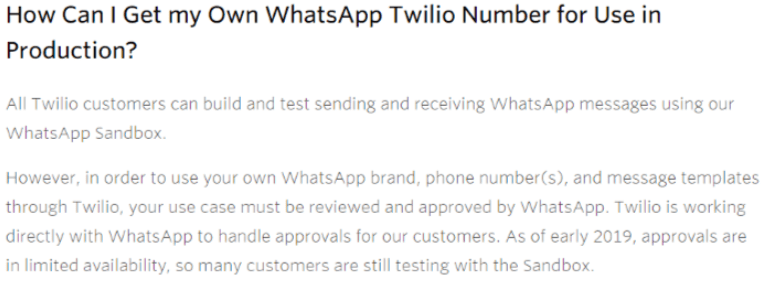
There is a form to fill out and a wait time too.
All of this may be discouraging, but the free tier solution does the job fine.
Also, for now, this is the only available way.
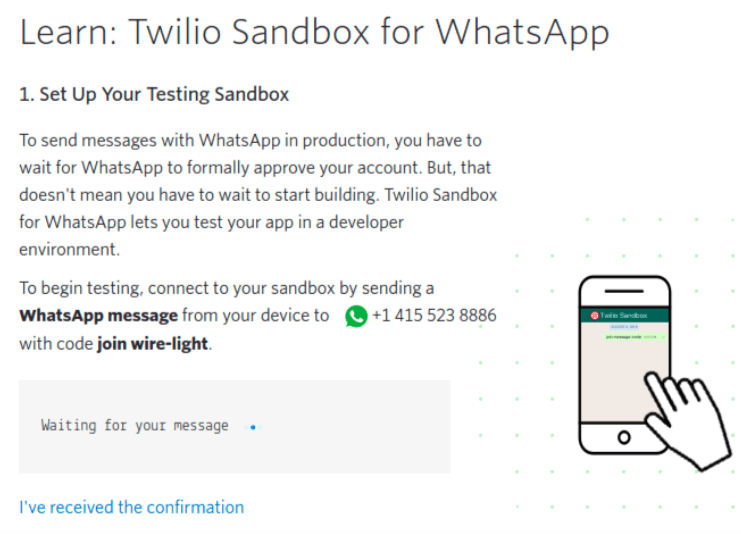
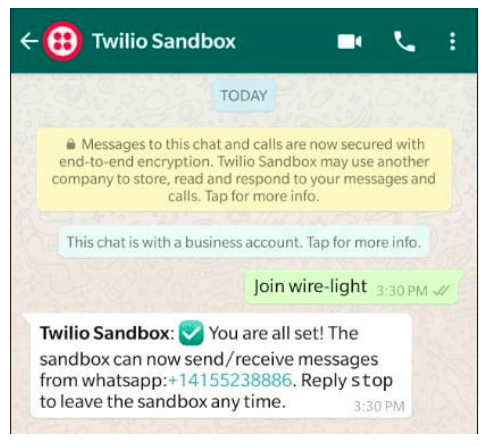
Now you have to connect the receivers phone to the WhatsApp Sandbox to start receiving messages.
To do this, head to WhatsApp beta in thelearnsection of the console.
This has to be done once and only once.
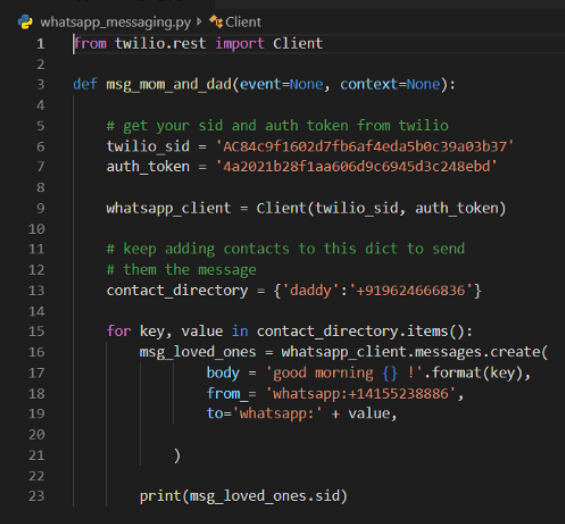
Now go to theTwilio Consoleand retrieve your account SSID and authentication token.
This will help Twilio know its you when the code is executed.
Step 2: Understanding and modifying the code
Download the GitHub repositoryand extract it.
Then extract theaws_lambda_deploy.zipand replace thewhatsapp_messaging.pyinside it with your newly created one.
Zip the package again.
We just wanted to change the code with your credentials and contact details.
Your deployment package is now ready.
This is because well use an AWS Lambda function in a Python environment that doesnt have the Twilio package.
But why not just runpip install twilioto install it?
This is because we dont have a server here.
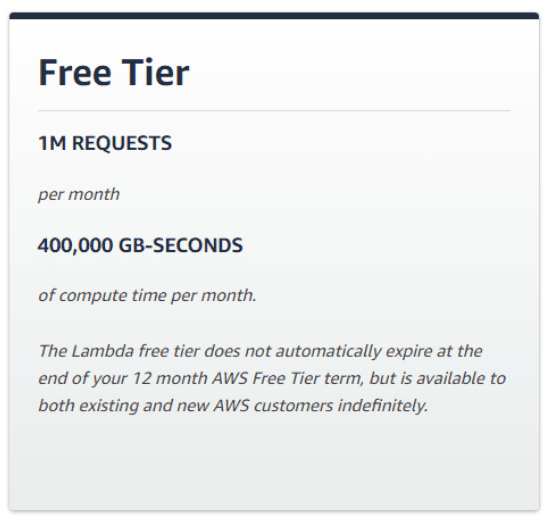
The Lambda service is very cheap and gives you a million requests per month for free.
So, our next step: access toAWS Amazon.
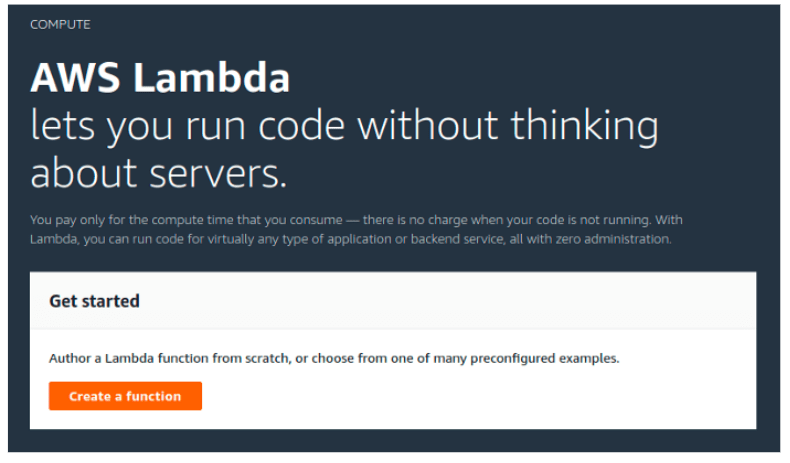
Then,selectServices->Compute->Lambda-> create a function.
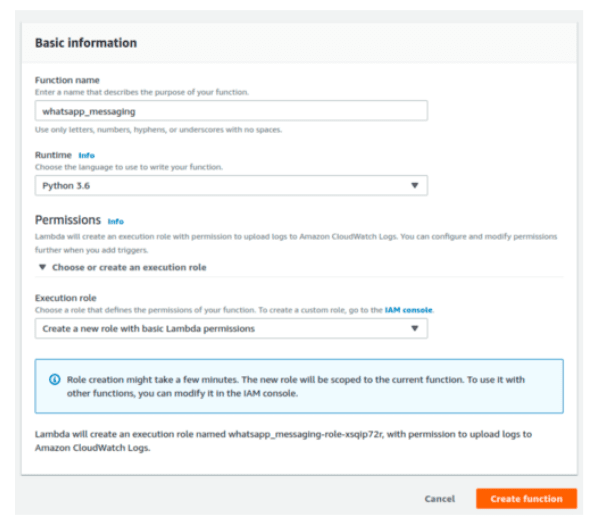
Once youve completed those steps, its time to give your function a name.
Now, click oncreate functionand youll be taken to the main dashboard.
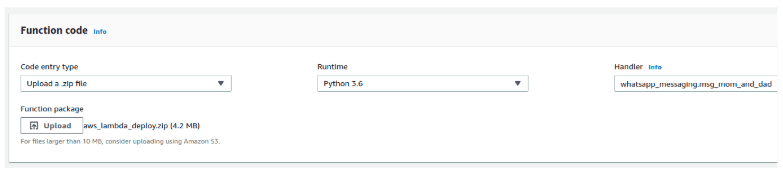
To do this, change the handler value as above.
Our code is ready to run.
Our last step is to trigger it every day at a given time.
To do this, clickadd trigger > CloudWatch Eventsin the designer box.
Well now have to create a new rule.
you’re able to give it any name and description you want.
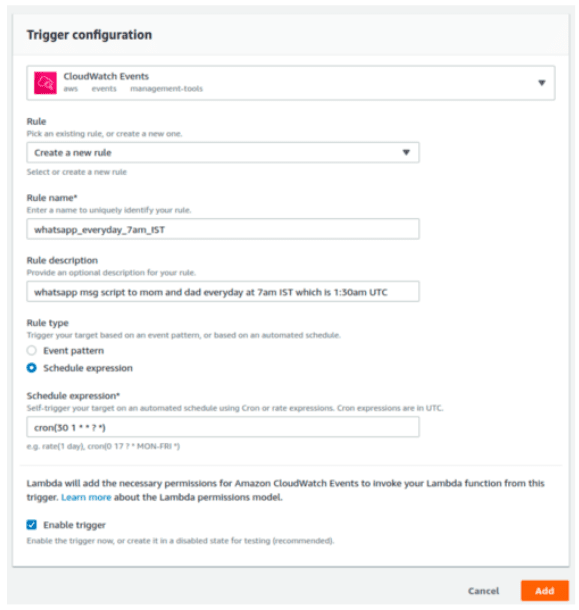
Then, set the rule key in asschedule expression.
The next two,* *, are for the day of the month and the month.
The next two,?
*,are for the day of the week and year.
We set*and?to specify every day, month, and year.
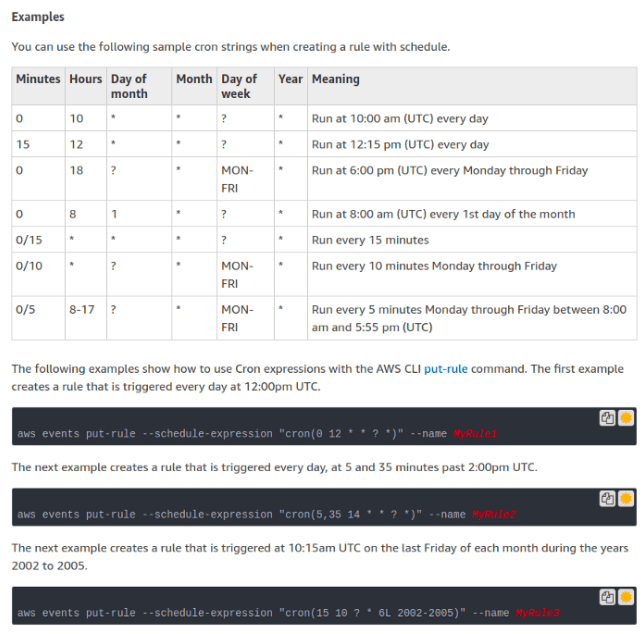
you might refer to the example below to create your owncronparameters.
Otherwise, you’ve got the option to refer to thecronguide onaws_cron_docsto learn it in depth.
But confirm theEnable triggercheckbox is checked.
Finally, nudge the add button.
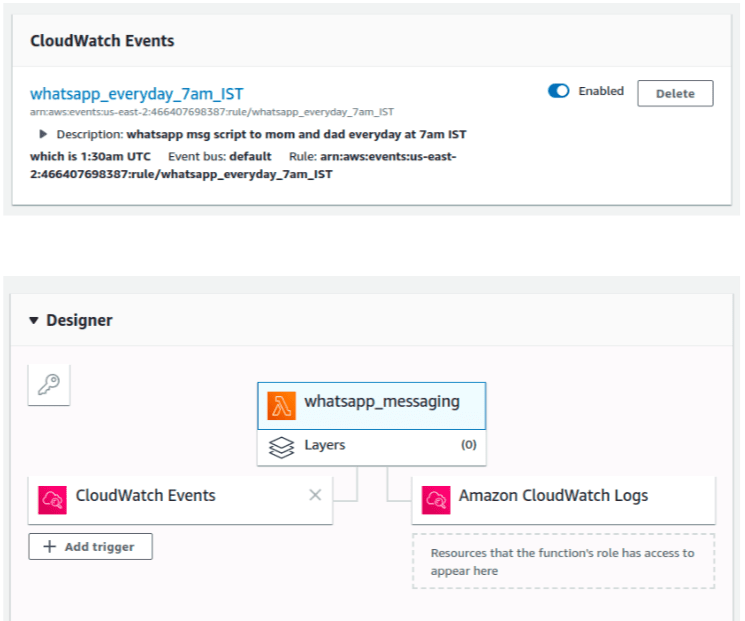
Upon scrolling down, you’re free to see the CloudWatch event enabled to trigger your function.
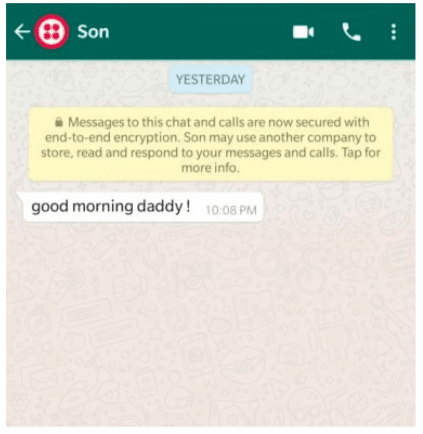
You truly are the favorite child.
This article was originally published onBetter ProgrammingbyKartik Nighania, a Software Engineer at HSBC.
you’re able to read the original articlehere.
